

Introduction
In this step-by-step guide, we will walk you through the process of building your very own SMS gateway. This DIY solution will enable you to send SMS messages efficiently and cost-effectively. Whether you want to receive notifications from monitoring systems or control your smart home, this SMS gateway can be tailored to your needs. We will break down the process into easy-to-follow stages, so you can have your SMS gateway up and running with minimal monthly costs.
Why Build Your Own SMS Gateway? Before we dive into the setup, let's explore why you might need to create your own SMS gateway. Whether you want to receive alerts, notifications, or messages from various systems, this DIY solution provides a flexible and affordable option. It's designed for smaller-scale use, making it perfect for home automation, security systems, and more.
Let's get started.
Table of Contents:
- Setting Up an MQTT Server
- Installing and Configuring the Zanzito Application
- Checking the System and Sending Test SMS
- Sending SMS Using a Micro Service
Step 1 — Setting Up an MQTT Server
In this section, we will guide you through the installation of an MQTT server, which is essential for our SMS gateway.
MQTT, or Message Queuing Telemetry Transport, is a lightweight messaging protocol commonly used in IoT devices, such as ESP8266 and Raspberry Pi. It is ideal for systems with low resources and battery-powered applications like home automation, alarm systems, and sensor networks.
To set up your MQTT server, you have two options:
a. Installing MQTT on Linux (Ubuntu/Raspberry Pi) — Follow the instructions in this guide.
b. Using Docker Containers — Refer to this guide for installation steps.
Step 2 — Installing and Configuring the Zanzito Application
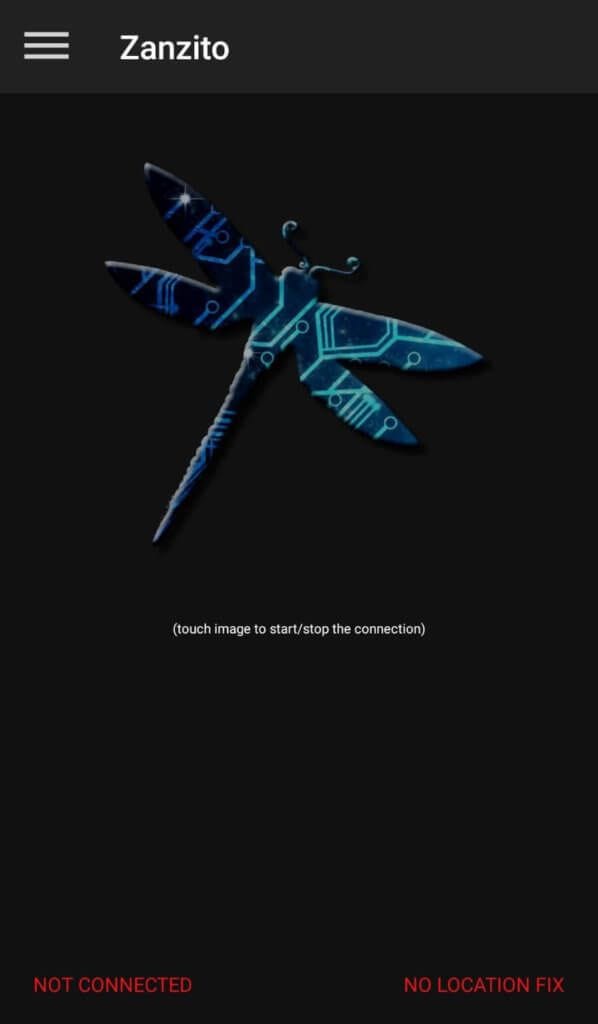
Now that you have your MQTT server up and running, it's time to install and configure the Zanzito application. This application will serve as the bridge between your devices and the MQTT server.
Here's how to do it:
- Download the Zanzito application.
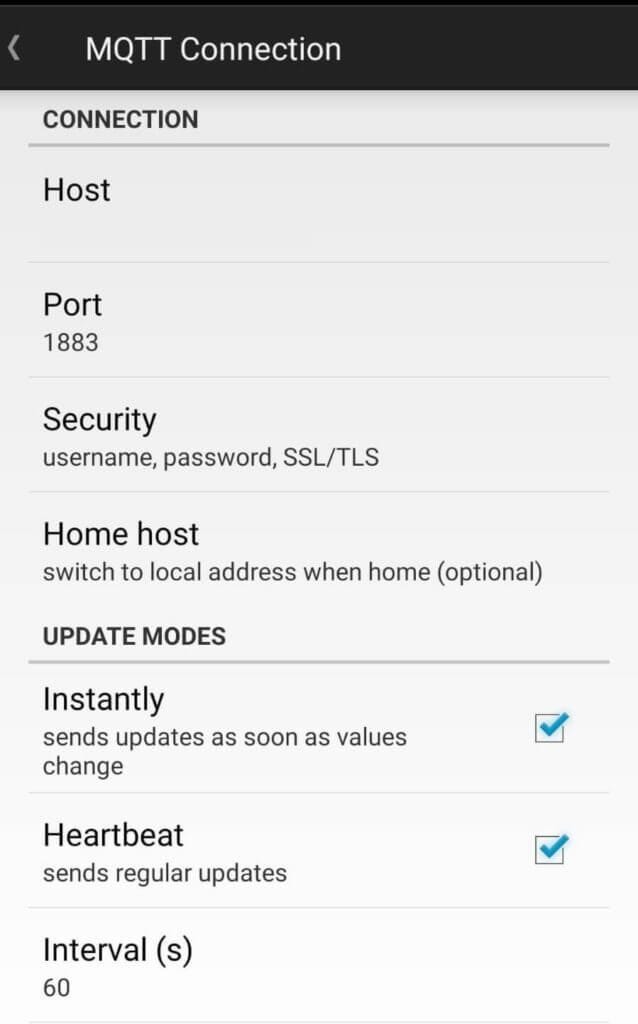
- Set up preferences for the MQTT connection.
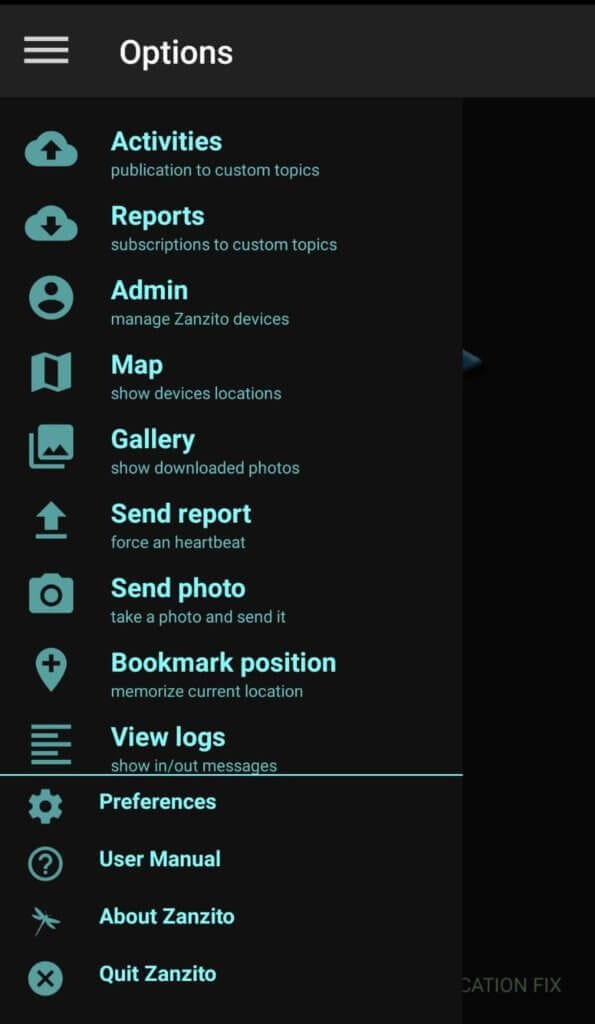
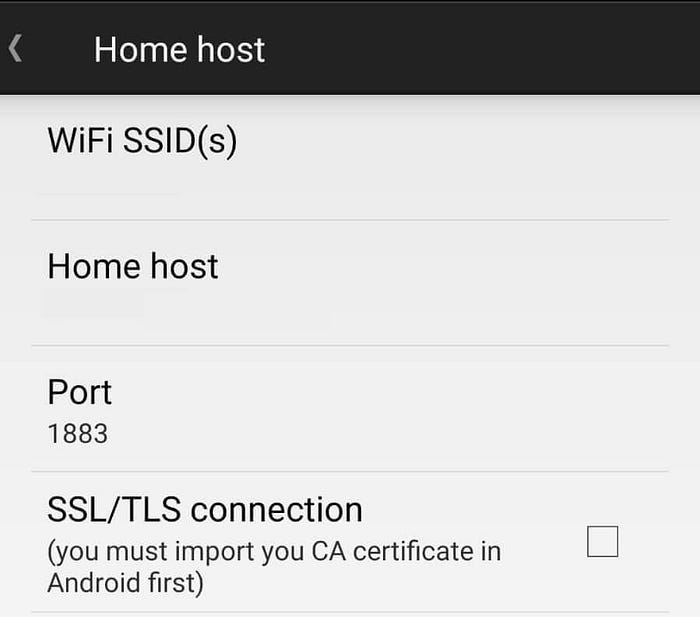
- Configure Home Host settings for wireless network use.

- Define your device name, which will be used to identify your device during message sending.
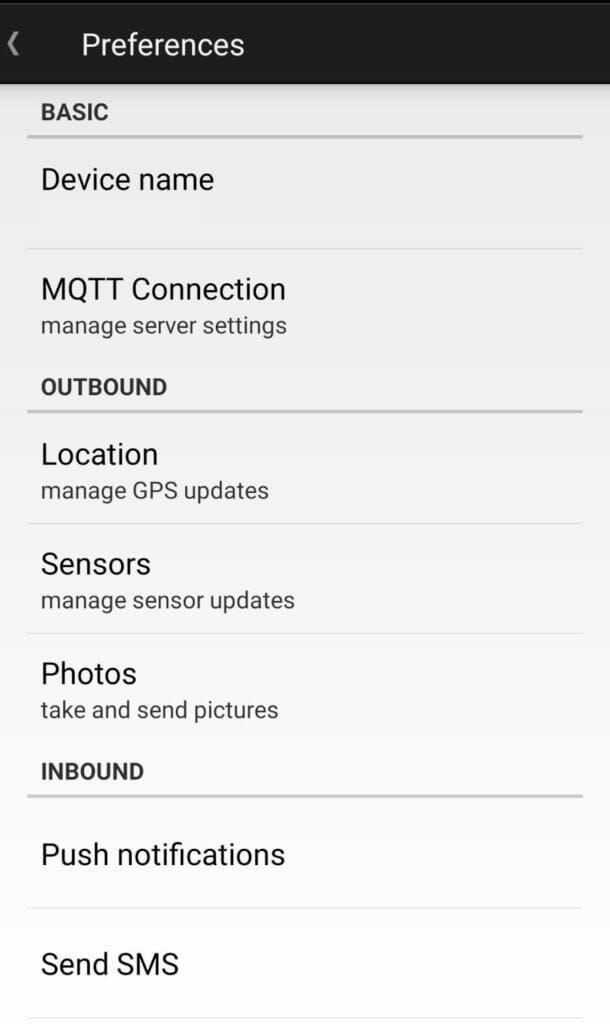
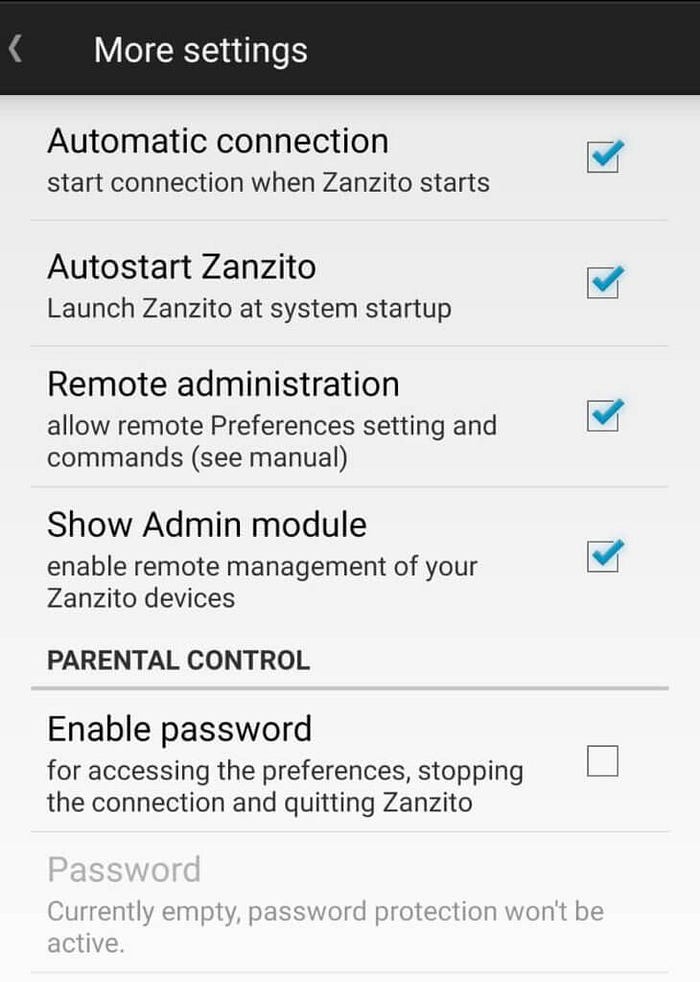
- Also make sure to enable Automatic Connection and AutoRestart
- On the main preferences screen, click on "Send SMS" and check the "Send SMS" and "Android notifications"

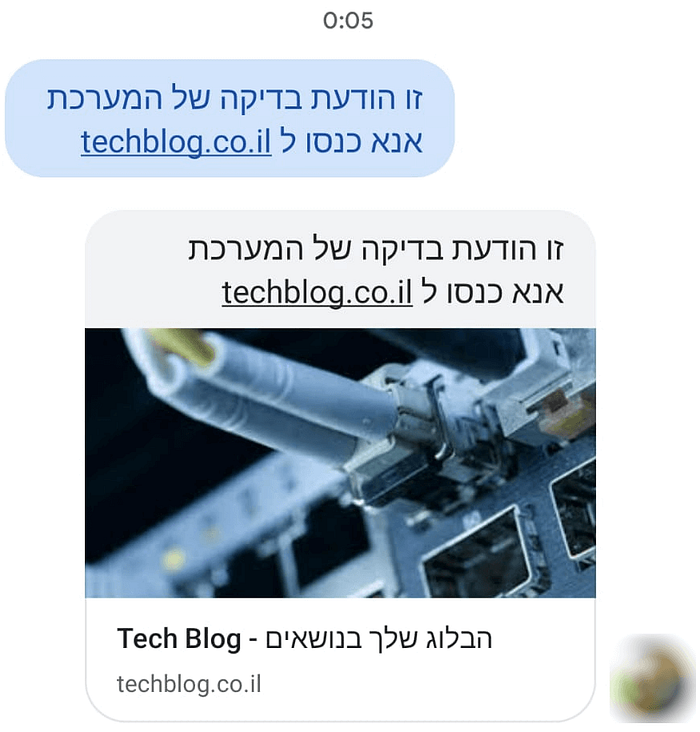
Step 3 — Checking the System and Sending Test SMS
In this section, we'll check if the system is functioning correctly and send a test SMS to verify its operation. We'll use the MQTT Explorer tool for this purpose.
Follow these steps:
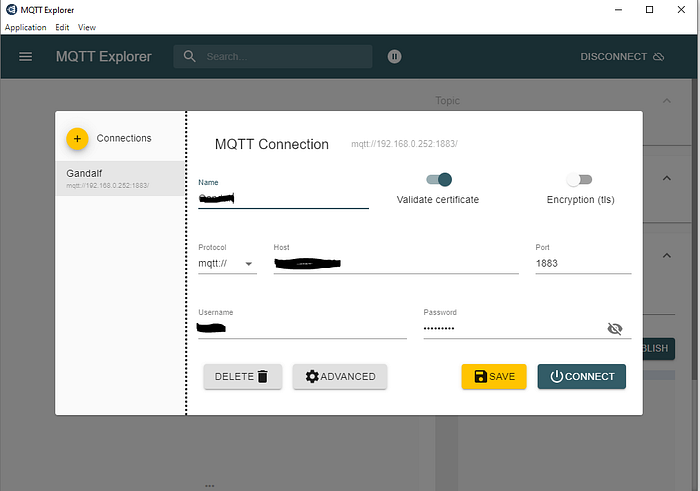
- Connect to your MQTT server using MQTT Explorer.
- Locate your Zanzito device in the list.
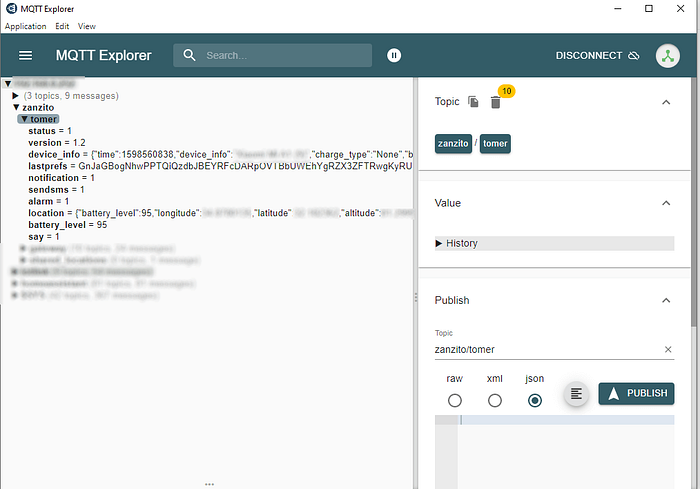
- Observe various information, such as battery percentage and charging status.
- Ensure that the SMS sending option is active.
To send a test SMS, use the following MQTT topic format:
zanzito/[devicename]/sendsms/[target_phone_number]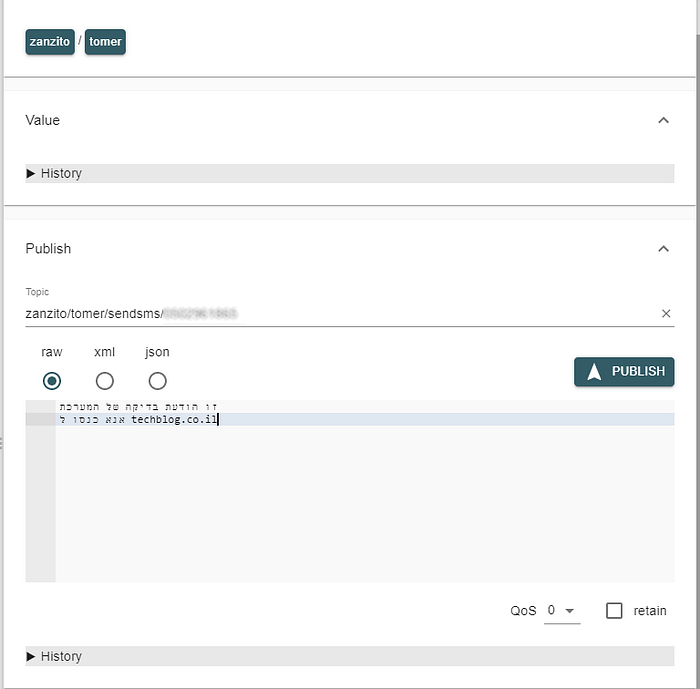
Click the "PUBLISH" button to send the SMS:
Step 4 — Sending SMS using a Microservice
In this final section, we'll demonstrate how to create a microservice that allows you to send SMS messages. You'll need to install the required dependencies and configure the service according to your MQTT server's details, including the server address, port, username, password, and your Zanzito device's name.
First, we need to install the necessary dependencies for the proper functioning of the interface. To do this, enter the following command:
sudo pip3 install flask flask_restful paho-mqtt --yesNow, download the code from my GitHub repository using the following command:
git clone https://github.com/t0mer/sms-gatewayNext, navigate to the directory that was created
cd sms-gatewayOpen and edit the "smssender.py" file, and update the values in the following lines to match your specific configurations:
# Set Parameters
# MQTT connection Params
server = ''  # MQTT Broker Address
port = 1883  # MQTT Broker Port (default is 1883)
user = ''    # MQTT Broker Username
passw = ''   # MQTT Broker Password
zanzitoDevice = ''  # Name you gave your device in Zanzito settings
Make sure to replace the empty strings ('') with your actual MQTT server address, port, username, password, and the name of your Zanzito device.
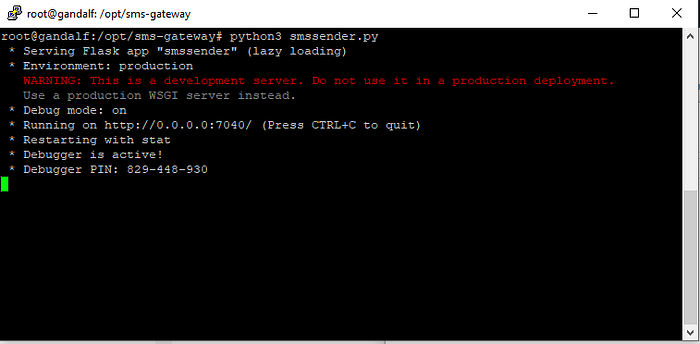
Now, run the code to check that everything is working correctly. To do this, enter the following command:
python3 smssendr.py
The output on the screen should resemble the following:
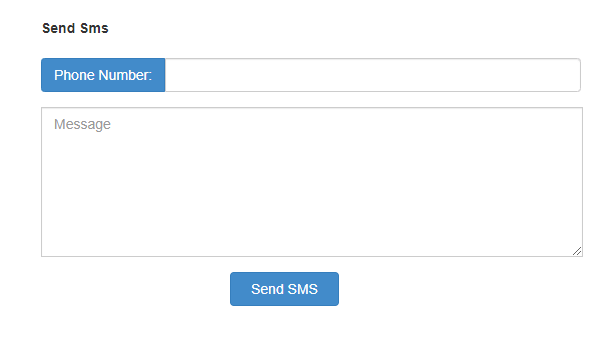
Once set up, you can use a web interface to send SMS messages. Simply enter the recipient's phone number, compose your message, and hit "Send SMS."
Congratulations! You now have your own SMS gateway up and running, ready to send messages whenever you need.
Summary
In this comprehensive guide, we've shown you how to build your own SMS gateway step by step. By setting up an MQTT server, installing the Zanzito application, checking the system, and creating a microservice, you can send SMS messages efficiently and cost-effectively. This DIY solution is perfect for receiving alerts and notifications from various systems, making your life more convenient and connected.